
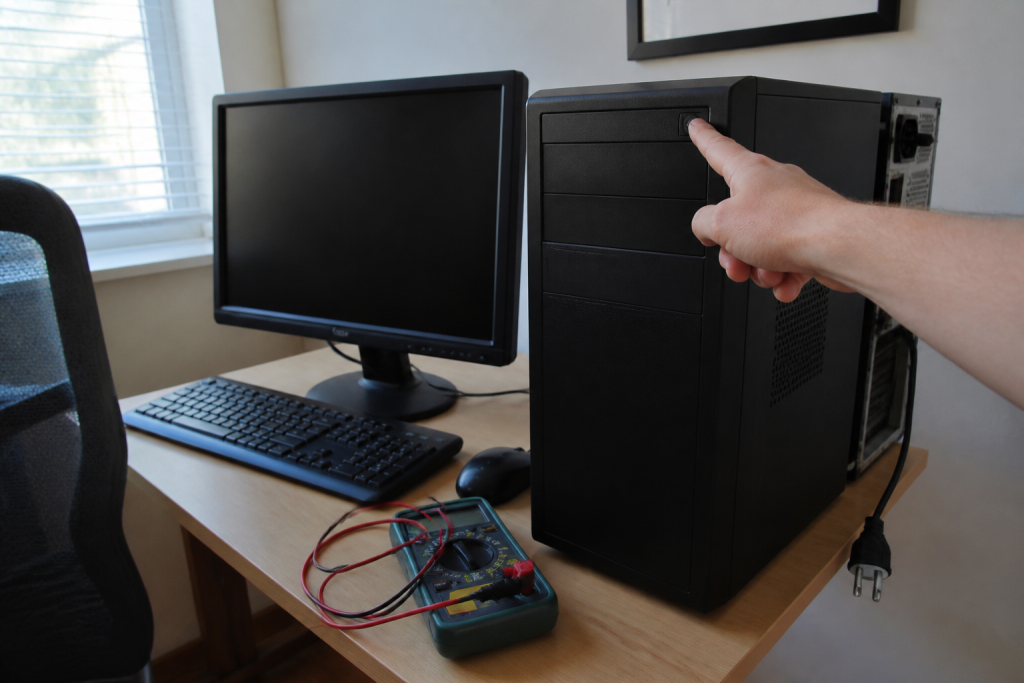
When you press the power button and absolutely nothing happens—the screen remains pitch black and no cooling fans spin—your first instinct is often to fear a catastrophic hardware failure. Yet, in the vast majority of cases, the root cause is simply electrical power and can be sorted out in mere minutes without requiring any special tools or technical expertise. Before you brace yourself for an expensive trip to the repair shop, here is a straightforward troubleshooting checklist you can easily complete at home.
Is the PC completely unresponsive: investigating the power supply or battery
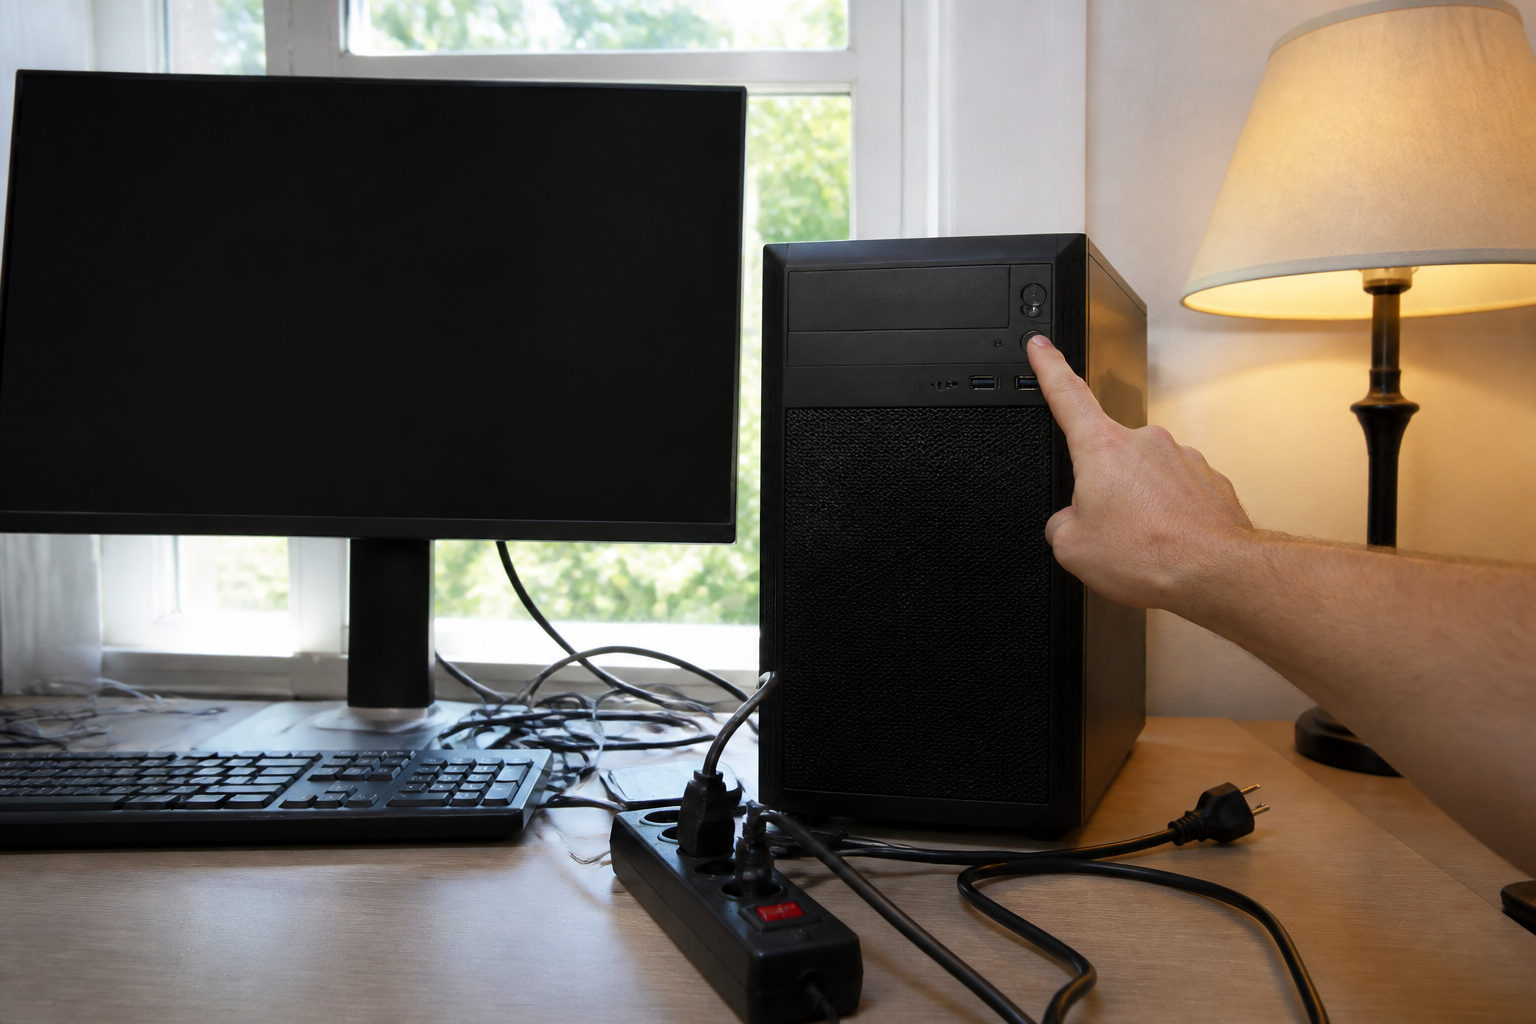
When a laptop or desktop exhibits zero signs of life, the electrical supply is always the primary suspect. Start by plugging a different appliance into the exact same wall outlet to ensure current is flowing. Once you confirm the outlet works, trace all your cables: check the power cord where it meets the AC adapter, examine the connection to your power strip if you use one, and look closely at the power port on the PC itself. A loose connection at any of these junctures is enough to halt the startup sequence entirely.

On a laptop, a quick diagnostic test involves removing the battery if it is detachable, then running the machine solely on the charger. If the device powers up successfully in this setup, your battery is either faulty or at the end of its lifespan. Conversely, if nothing happens, the culprit could be the charger itself, the DC jack, or the motherboard. Also check whether the charging port feels wobbly; excessive play in the socket usually indicates a broken solder joint that requires professional repair or replacement.
Electrical reset: a handy trick to fix stubborn bugs
A machine that refuses to turn on may simply be suffering from a build-up of residual electrical charge trapped inside its capacitors. This tends to happen when you force-shutdown the computer by holding down the power button, or when you rely exclusively on sleep mode without ever performing a proper shut down. In such scenarios, executing a hard power reset drains those lingering charges and gives the motherboard a fresh baseline state.
The procedure is identical whether your laptop features a removable battery or an internal one:
- Shut down the computer completely and unplug the power adapter.
- If your battery is removable, take it out now. Otherwise, skip to the next step.
- Press and hold the power button down continuously for 30 seconds. You won’t hear any sound, but this action forces the capacitors to discharge fully.
- Plug the charger back in without reinserting the battery just yet.
- Attempt to turn on the PC normally.
Certain modern laptops feature a tiny hardware reset pinhole located underneath the chassis. If yours has one, unplug the machine, insert a straightened paperclip or a needle into the hole for about 5 seconds, and then try powering it back on. This trick works wonders when the system locks up following a prolonged hibernation state or a forced shutdown.
The screen stays dark while the PC seems to run: identifying display issues
Sometimes, you can clearly hear the internal fans whirring and see the status LEDs glowing, yet the display remains completely black. In this situation, the computer isn’t truly “off”—rather, you are dealing with a video output failure. To verify this, connect your laptop to an external monitor or television using an HDMI or VGA cable. If a picture pops up on the external screen, the fault lies with your internal LCD panel, the ribbon cable, or the integrated graphics chip. It could also simply be a dimmed backlight; try cranking up the brightness using the keyboard function keys.
On a desktop tower, a blank screen can stem from a poorly seated video cable or a monitor receiving no signal whatsoever. Double-check that the cable is firmly pushed in at both ends and that the monitor is actually powered on. If you are using a dedicated graphics card, make sure the cable is plugged directly into the card’s port rather than the motherboard’s output.
Beep codes and diagnostic lights: decoding the signals
When a PC attempts to boot up but emits a specific pattern of audio beeps, it is using a built-in error code to alert you to a malfunctioning hardware component. While each BIOS manufacturer utilizes distinct sequences, the most common patterns include:
- One long beep followed by two or three short beeps: indicates a memory (RAM) error. Try removing and reseating the sticks, or test them one by one if you have multiple modules.
- Continuous or repeated beeping: points to a power supply or motherboard failure.
- No beeps at all, but fans are spinning: usually signifies a processor or motherboard complication.
If you don’t hear any audio alerts, check that the internal case speaker is correctly connected to the motherboard (on desktop builds). On laptops, a complete lack of sound can also imply that the system cannot even communicate with the motherboard.
Component testing: RAM, hard drive, and the power switch
If the previous steps haven’t yielded results, you must consider more targeted hardware failures. Faulty RAM can single-handedly prevent a system from booting even if every other part is healthy. Extract the memory sticks, gently wipe the contact pins with a clean pencil eraser, and snap them firmly back into place. Test just a single stick in the primary slot first, swapping to the other if problems persist.
A broken hard drive rarely prevents a computer from powering on, but it can trigger a permanent black screen right after the manufacturer’s logo appears. If you hear rhythmic clicking noises or scraping sounds coming from the drive, it is likely dead. In such cases, the PC may freeze indefinitely on the splash screen without ever loading the operating system.
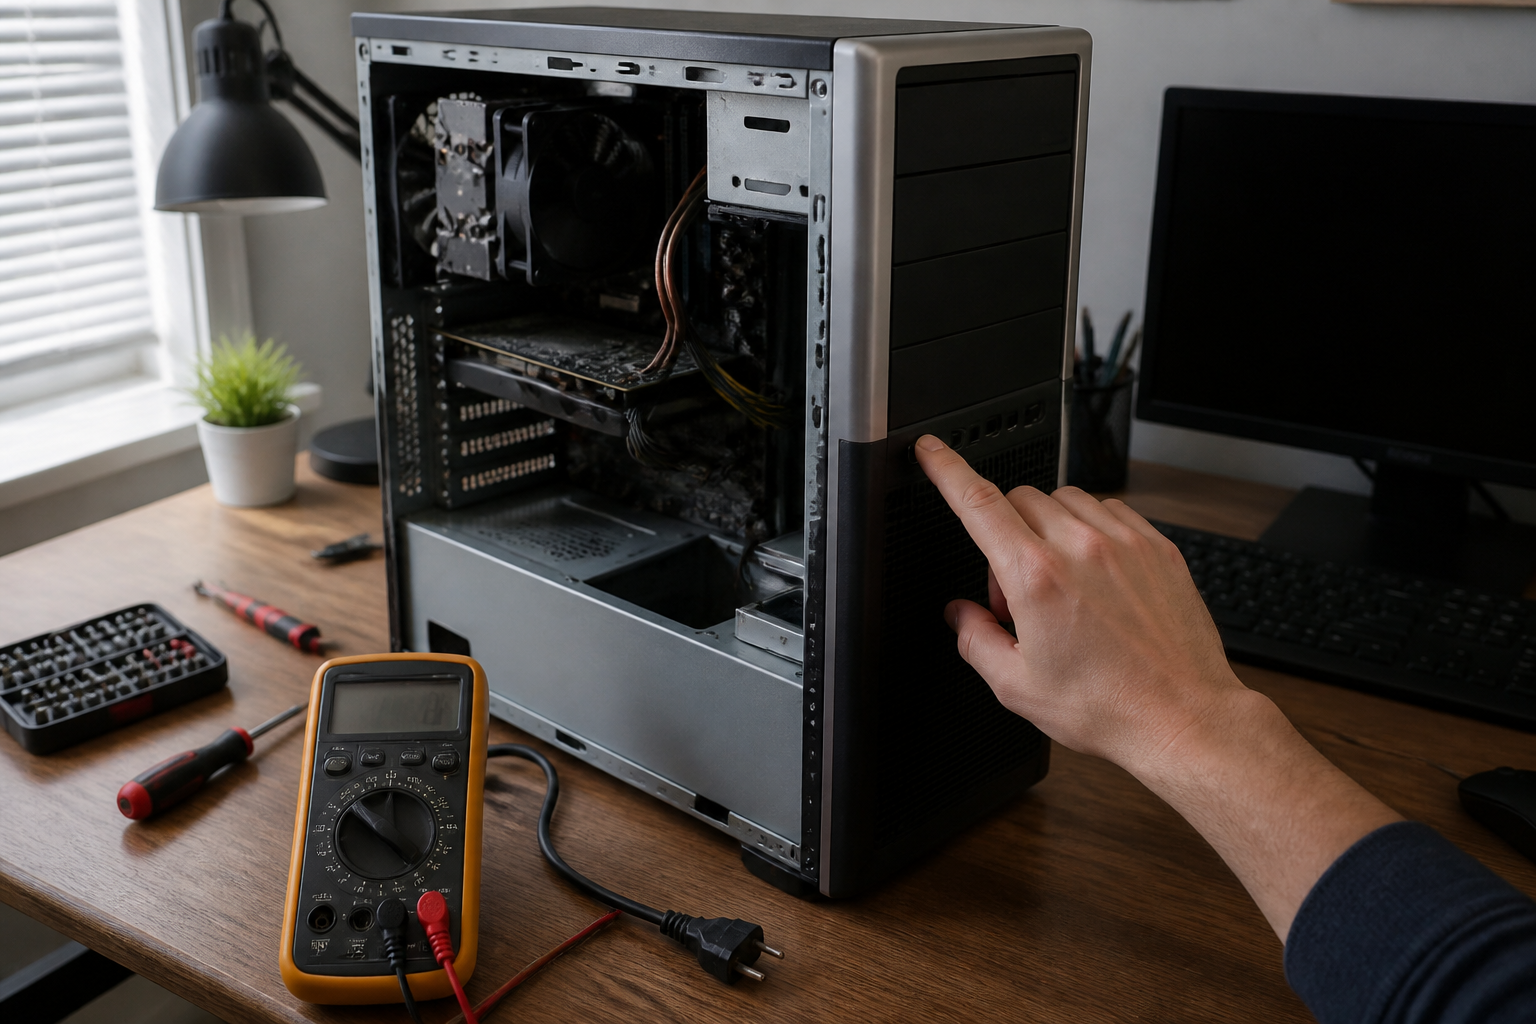
Finally, the power button itself might be broken. On a desktop machine, you can test this by briefly bridging the two “Power SW” pins on the motherboard using a flathead screwdriver to jump-start the system. If the PC fires up, the button needs to be replaced. On laptops, this is significantly trickier; a stuck switch or damaged internal trace requires professional intervention.
When should you stop testing and call a professional technician?
If you’ve checked the power source, performed a hard electrical reset, tested the RAM, and verified the display output yet the computer still shows zero life, the issue likely extends beyond DIY fixes. Likely culprits at this stage include:
- A fried motherboard or damaged internal power delivery circuitry.
- A scorched charging port soldered onto a laptop’s mainboard.
- A defective processor (uncommon, but possible following severe overheating or improper installation).
At this juncture, professional workshop diagnostics generally run between 50 and 150 euros, and replacing a motherboard can easily eclipse the current market value of an aging computer. Before committing to a costly repair, request a formal quote and weigh it against the cost of a brand-new or refurbished machine. Today, an entry-level laptop often costs less than a motherboard swap at a repair shop.
The most pragmatic choice: if your computer is over five years old and diagnostics point toward a dead motherboard or internal power failure, replacing it outright is usually much wiser than investing in repairs. If the hardware is relatively new or falls into a high-end category, getting a professional evaluation from a specialized shop remains your best bet before throwing in the towel.