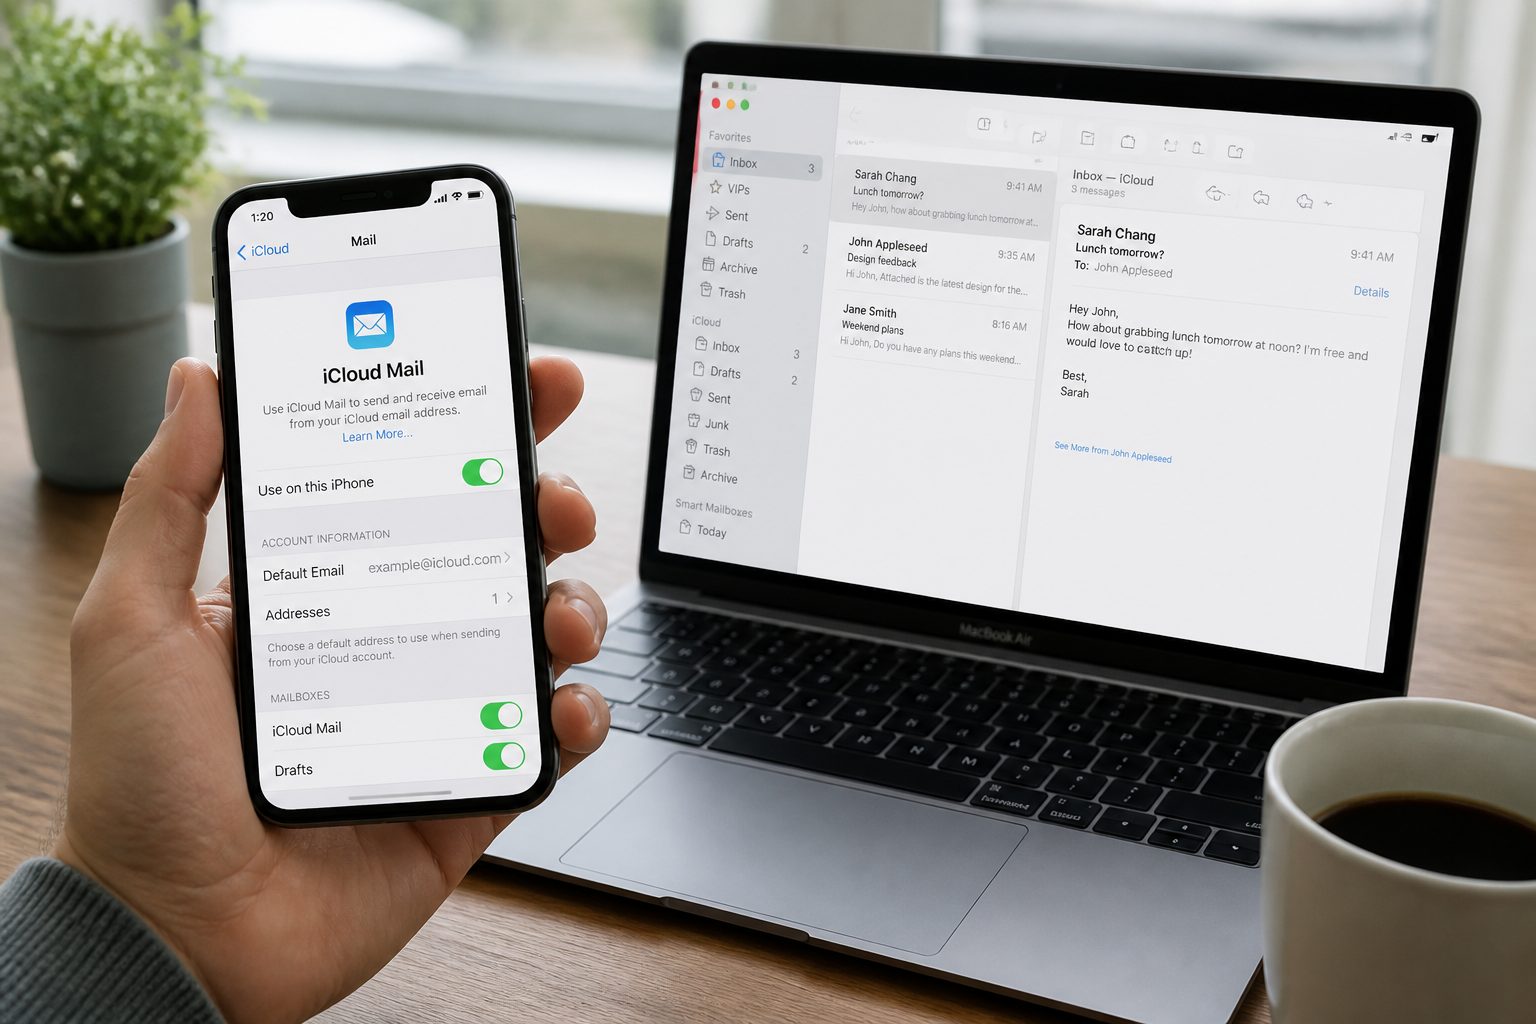
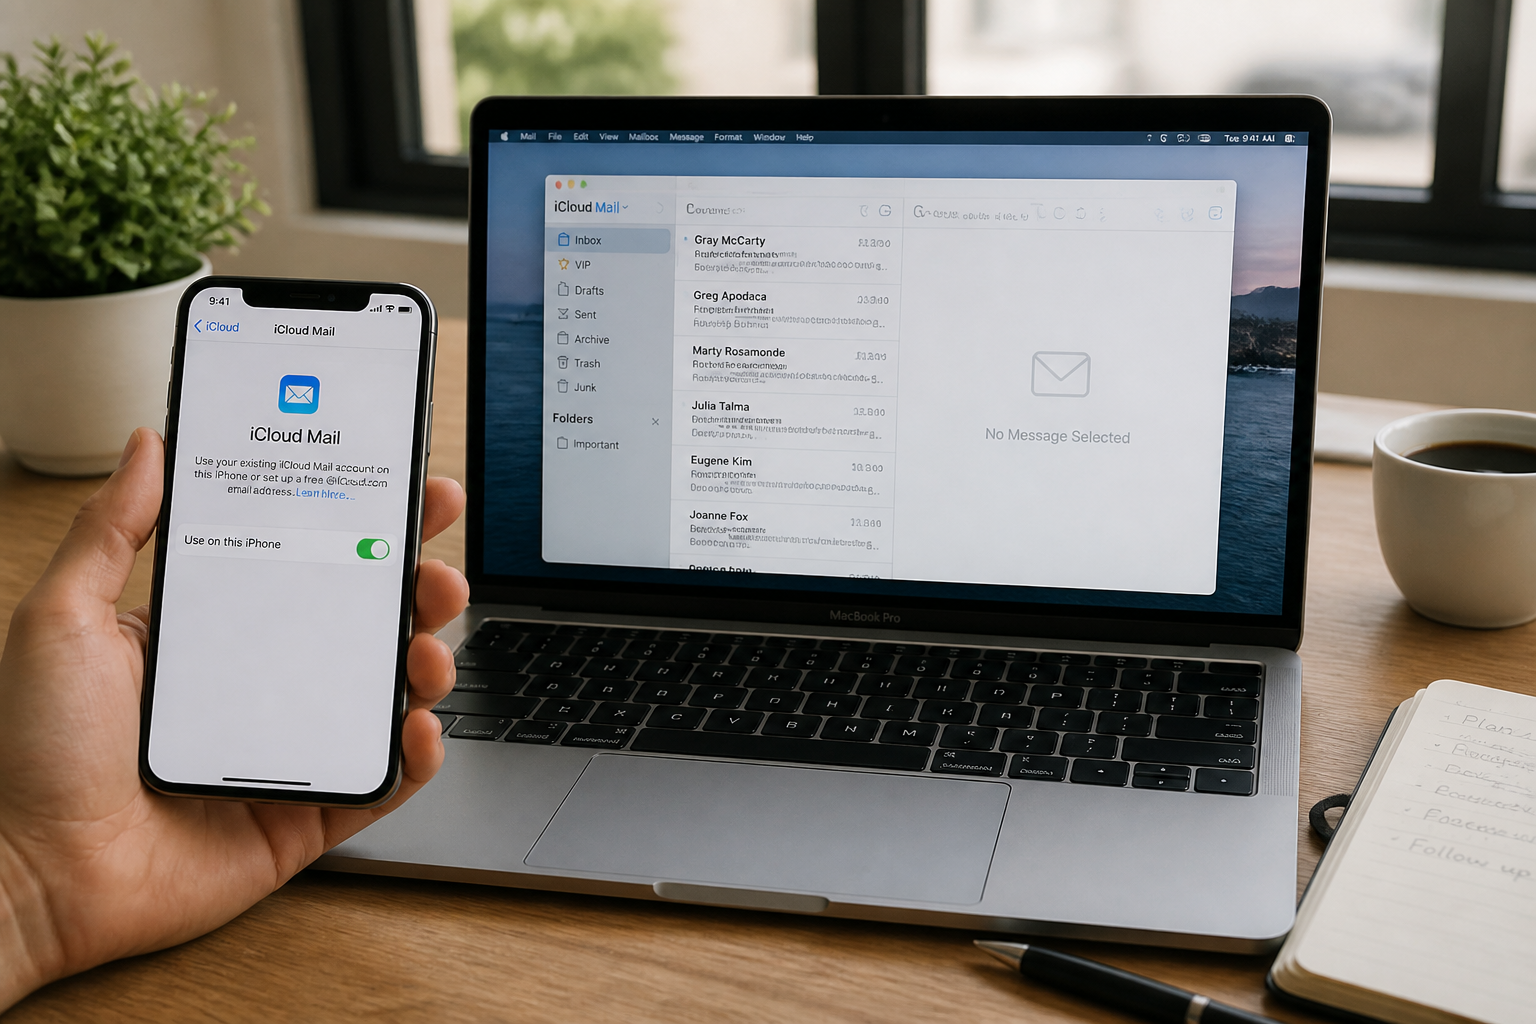
To read and send your iCloud emails from an iPhone or iPad, the setup process is handled through the device’s main settings. Open the Settings app, tap on your profile name at the top of the screen, and then select iCloud. Next, tap on iCloud Mail and turn the feature on. If you don’t have an iCloud address yet, the screen will guide you through setting one up in just a few quick steps. Once enabled, Apple’s built-in Mail app automatically connects using your Apple ID and begins downloading your messages.
From this exact same menu, you can easily manage the addresses associated with your account. If you subscribe to iCloud+, you also gain the ability to set up a custom domain for your emails—a great perk if you want to use your own web domain with your iCloud mailbox.
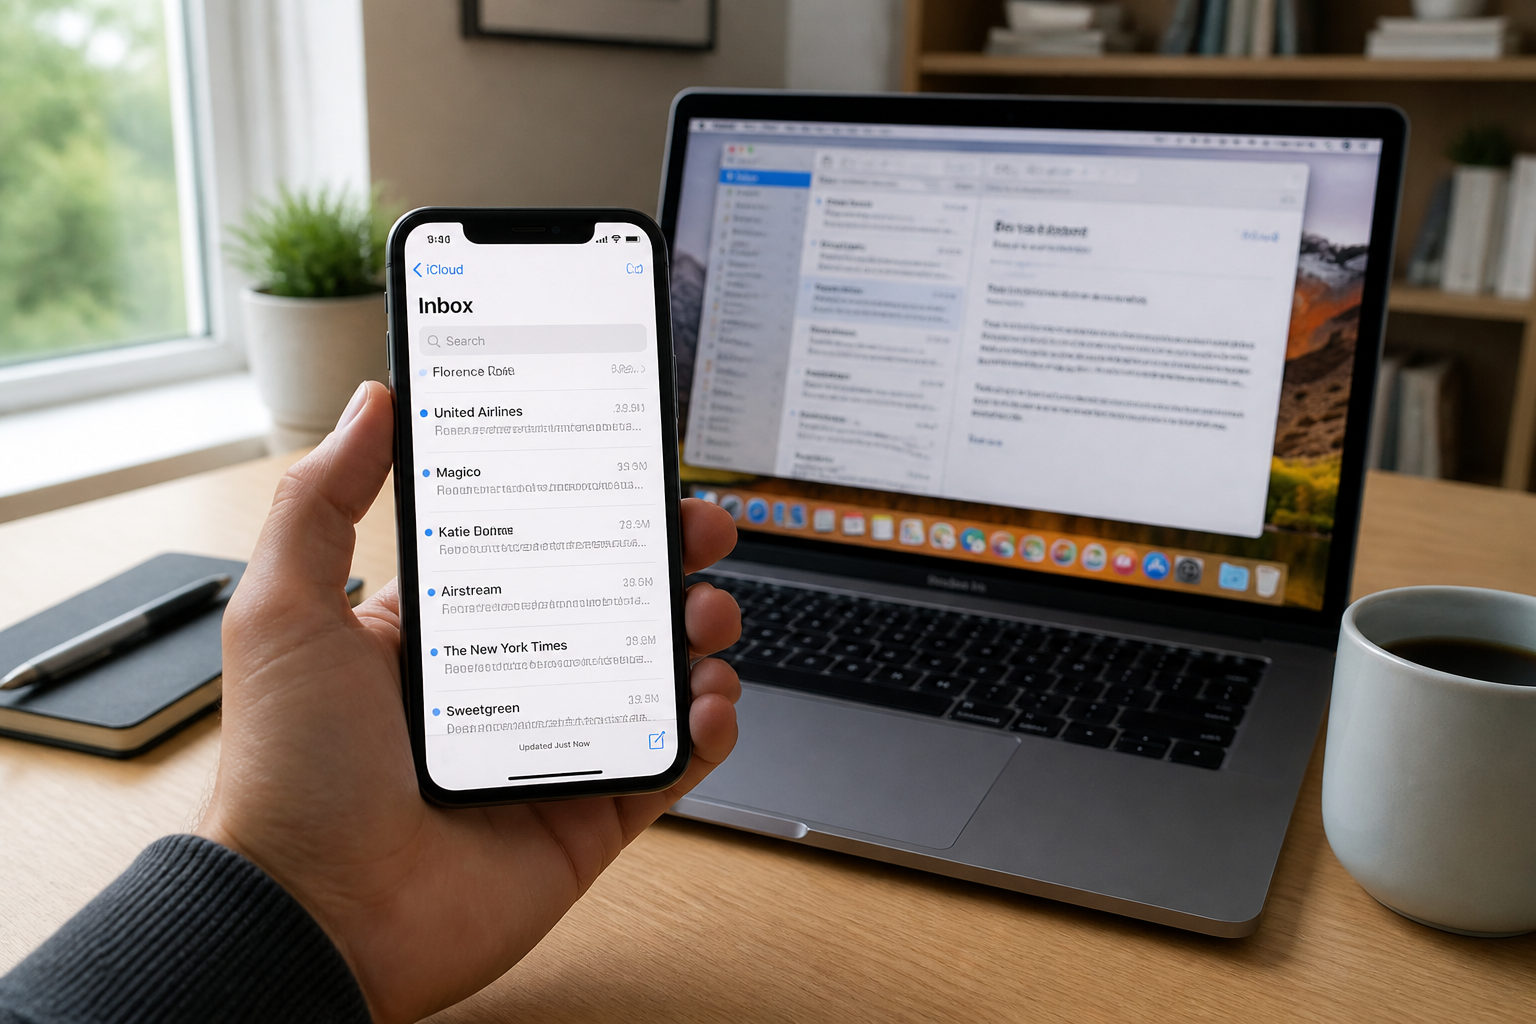
Setting Up iCloud Mail on a Mac
On a Mac, the procedure goes through System Settings. Click on the Apple menu, choose System Settings, and pick your name at the top of the sidebar. If you aren’t signed in yet, enter your Apple ID email or phone number followed by your password.
Next, click on iCloud, then select Mail (or iCloud Mail). Depending on your version of macOS:
- macOS 13.3 or later: toggle on the Sync this Mac option.
- macOS 13 through 13.2: click on Turn On.
Once the configuration is complete, open the Mail application. In the left-hand column, you will spot an iCloud section complete with your folders and mailboxes. If you enable Mail in iCloud Drive, your custom preferences (such as blocked senders, rules, signatures, and VIP contacts) will stay synchronized between your Mac and your other Apple devices.
Connecting to iCloud Mail from Windows or Android
Apple doesn’t lock you inside its walled garden. You can easily configure your iCloud mailbox on a Windows PC or an Android smartphone, provided you use a compatible email client.
The method remains identical across all third-party software (like Outlook, Spark, AirMail, or Thunderbird):
- Launch your preferred email client and start the process of adding a new account.
- Choose the iCloud account type (or IMAP if iCloud isn’t visible in the dropdown menu).
- Type in your full iCloud email address (for example: firstname.lastname@icloud.com).
- For the password, you cannot use your standard iCloud account password. Instead, you must generate an app-specific password directly through your Apple ID management portal.
This critical security measure stops third-party apps from gaining direct access to your primary account credentials. To create this password:
- Open a web browser and log into the official Apple ID management page.
- Locate the App-Specific Passwords section near the bottom of the page and click the + icon.
- Assign a descriptive name to the software (such as “Outlook on PC”) and click Create.
- Copy the newly generated code and paste it directly into your email client’s password field.
Once you feed it this information, your mail app will automatically handle the underlying IMAP and SMTP configurations. You will then be free to send and receive iCloud messages from virtually any hardware.
IMAP and SMTP Settings for Manual Setup
If your chosen mail software fails to detect the settings automatically, you can input them by hand. Here are the precise server values to use:
| Server Type | Server Address | Port | SSL |
|---|---|---|---|
| IMAP (Incoming) | imap.mail.me.com | 993 | Yes |
| SMTP (Outgoing) | smtp.mail.me.com | 587 | Yes (TLS) |
For your username, make sure to enter your complete iCloud address. The password must be the specific app password you created earlier, not your main Apple account password.
Common Mistakes to Avoid
The most frequent error is trying to type your main Apple ID password into an outside email application. This will always fail and temporarily block your login attempt. Always remember to generate a dedicated app password instead.
Another detail to keep in mind: if you have two-factor authentication enabled on your Apple account (which is strongly advised), your app-specific passwords will remain valid long-term. You won’t need to generate new ones every time you log in, unless you manually revoke access from your management dashboard.
Finally, double-check that your mail client is correctly assigned to port 993 for IMAP and port 587 for SMTP using SSL/TLS encryption. Using the wrong port numbers (like port 143 for unencrypted IMAP) will block synchronization entirely.
When iCloud Mail Might Fall Short
While iCloud Mail is dependable for personal correspondence, it does have a few ceilings. Your email storage space shares the exact same pool as your general iCloud storage quota. With the complimentary 5 GB free tier, heavy file attachments can eat up your room fast. If you routinely receive large documents, upgrading to an iCloud+ plan (offering 50 GB, 200 GB, or 2 TB) becomes vital to avoid bouncing incoming mail.
Another consideration: the built-in message search feature can sometimes feel less snappy than competitors like Gmail or Outlook.com. For heavy professional workflows, many users prefer treating iCloud Mail as a secondary inbox.
Should you decide to use a custom domain, note that this feature is exclusive to iCloud+ subscribers, and setup is managed directly through the iCloud web portal. It lets you send and receive mail using your personalized domain name (yourname@yourwebsite.com) seamlessly inside the native iCloud interface.
Before jumping into a complete migration to iCloud Mail, weigh your storage needs and device compatibility. For straightforward usage across Apple gear, it’s a wonderfully smooth environment. For heavy multi-account workflows or massive file volumes, sticking with a universal client and keeping your app passwords handy is usually the safer bet.