

Before initiating the Windows 11 installation process, you must first verify that your computer meets the minimum hardware prerequisites. Microsoft requires a compatible 64-bit processor (clocked at 1 GHz or faster, featuring at least 2 cores), 4 GB of RAM, and 64 GB of available storage. Your graphics card must support DirectX 12 equipped with a WDDM 2.0 driver. Furthermore, the display needs to measure at least 9 inches diagonally and offer a minimum resolution of HD (720p). Trusted Platform Module (TPM) version 2.0 is mandatory, along with Secure Boot capabilities.
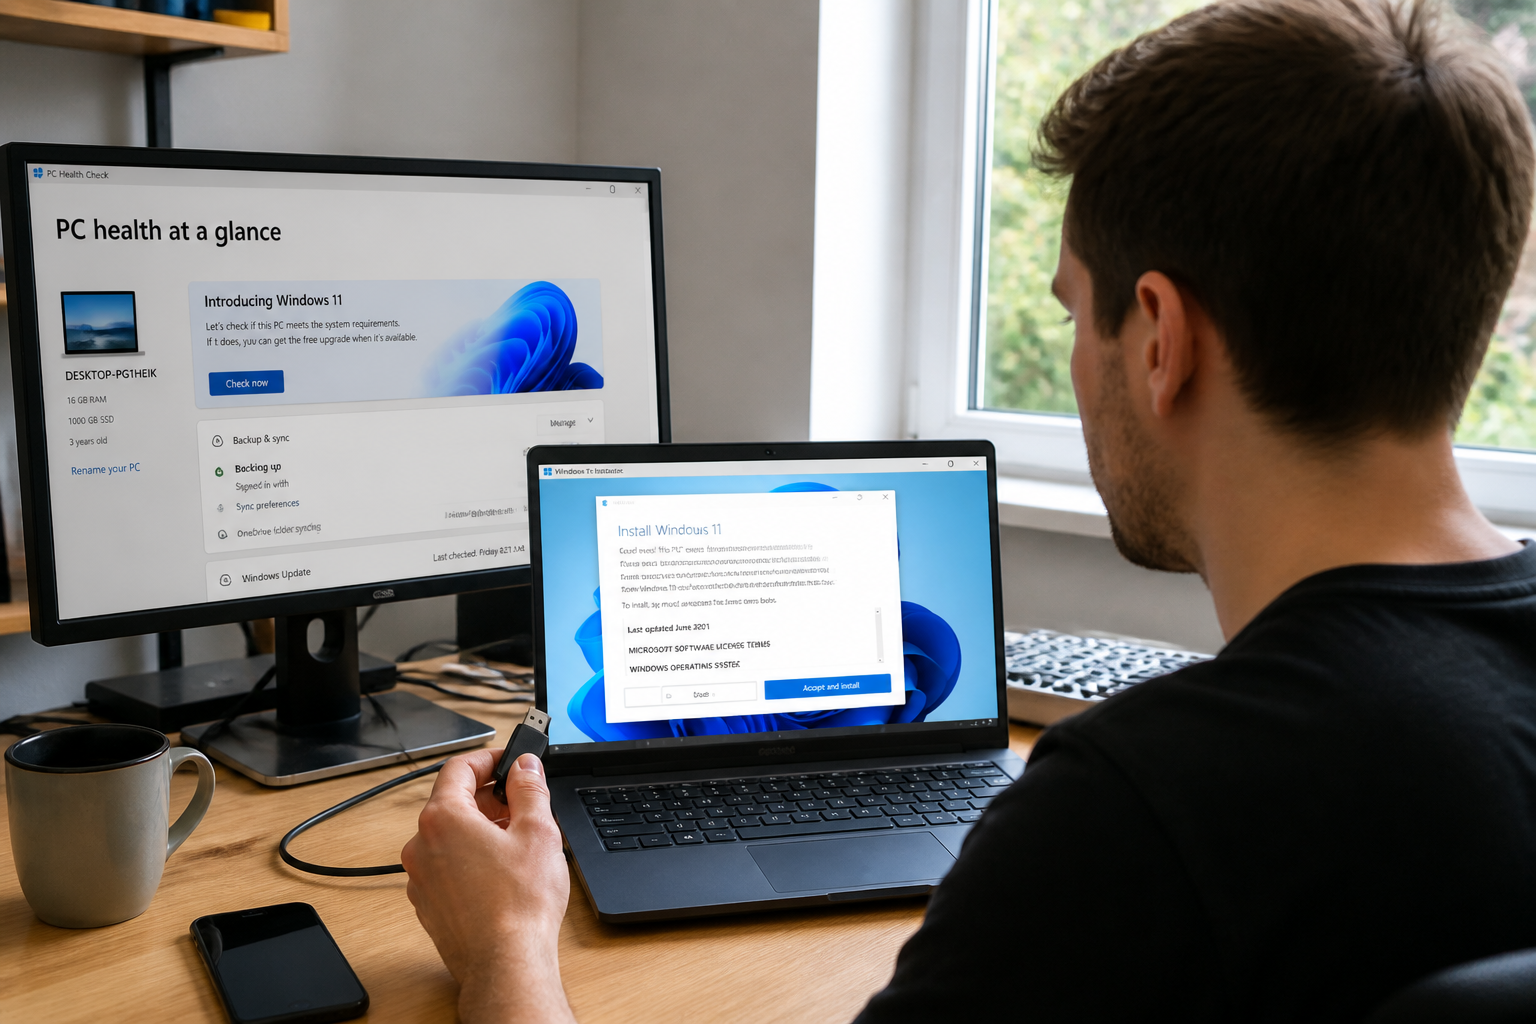
To check if your system is fully compatible, download the PC Health Check application directly from the official Microsoft portal. It will highlight any potential roadblocks. If your hardware was manufactured prior to 2018, there is a strong probability it will fail the TPM 2.0 or CPU compatibility evaluation. In such scenarios, your options are to either upgrade the motherboard or stick with Windows 10 for the duration of its support lifecycle (extending through October 2025).

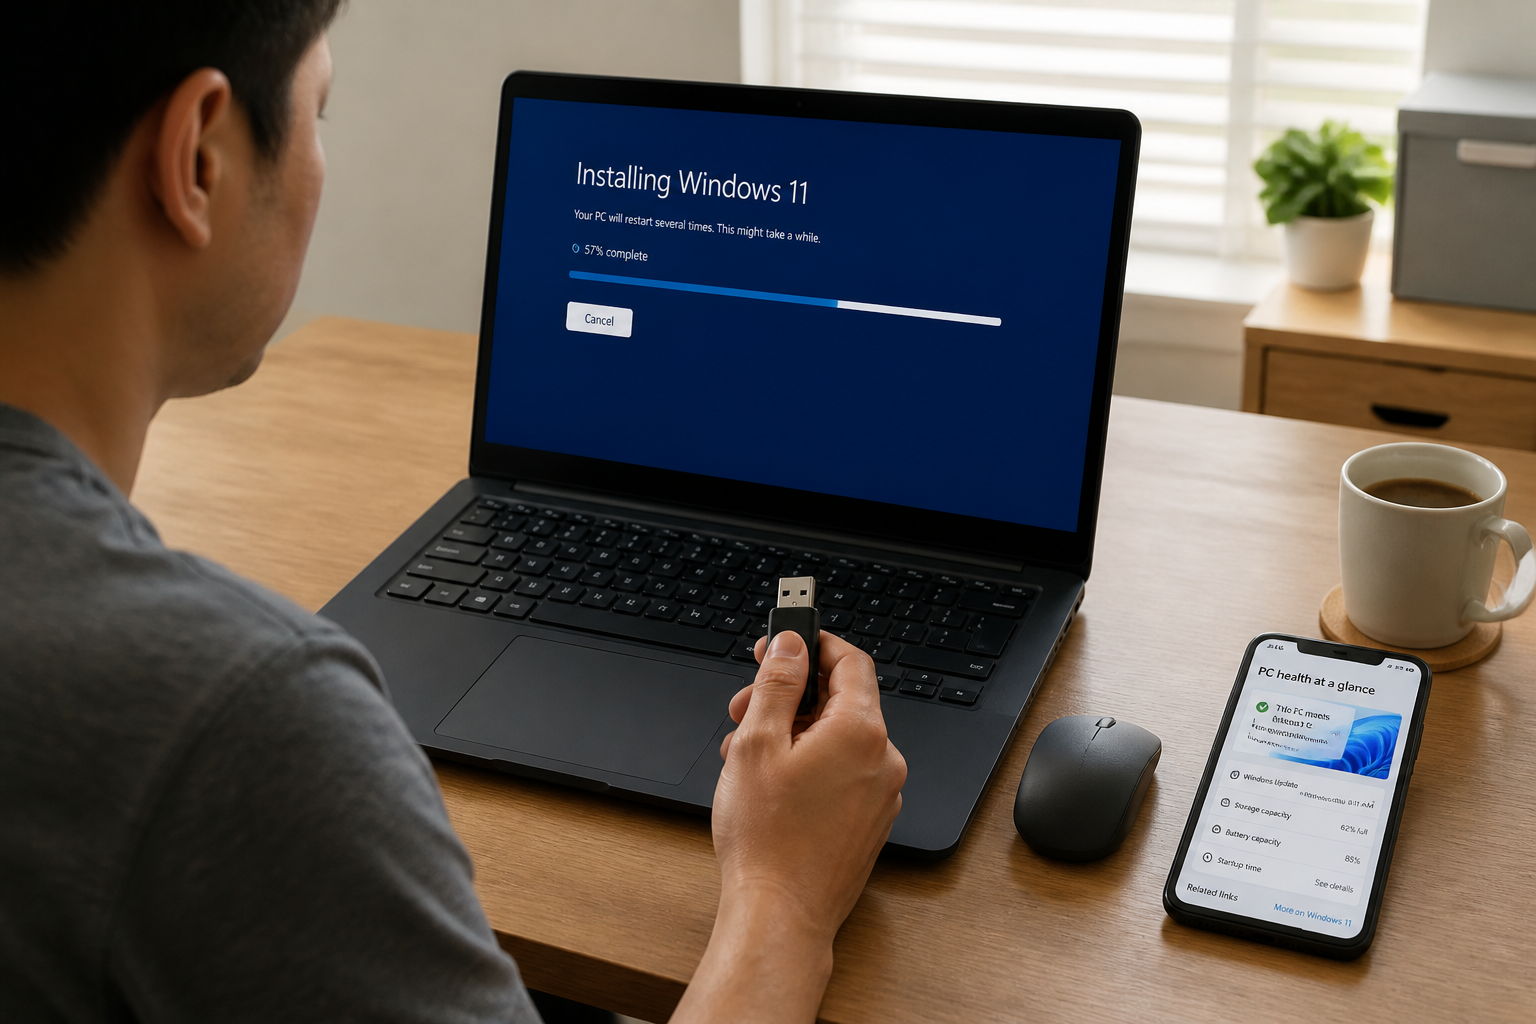
Should You Perform an In-Place Upgrade or a Clean Installation?
Upgrading from Windows 10
If you are currently running Windows 10 version 2004 or a newer build, migrating to Windows 11 can be accomplished seamlessly through Windows Update. Confirm that all pending system updates are fully installed, then click on Check for updates. When the Download and install button appears, trigger the process. The setup takes several minutes, and a system reboot will be required upon completion.
This approach preserves your personal files, installed programs, and customized preferences. It represents the most straightforward pathway, though it is exclusively available if your machine meets the hardware criteria and your Windows 10 license is properly activated.
Clean Installation Using a Bootable USB Drive
A fresh installation completely wipes the primary storage drive. This method is strongly advised if you prefer a blank slate, if your current Windows 10 installation feels sluggish or unstable, or if you are upgrading your storage hardware (such as transitioning to a high-speed SSD).
To create a bootable installation USB:
- Download the Create Windows 11 Installation Media tool from the Microsoft website.
- Insert an empty USB flash drive with a minimum capacity of 8 GB.
- Launch the utility, agree to the licensing terms, select USB flash drive, and designate your specific drive.
- The software will download the Windows 11 binaries and copy them onto the USB medium. Once finished, you will see a confirmation stating Your USB flash drive is ready.
To boot from this newly created media, restart your computer and repeatedly press the designated BIOS entry key (frequently F2, F12, Delete, or Esc, depending on the manufacturer). Adjust the boot sequence to place the USB drive in the primary position. Save the alterations and exit. The setup routine will then automatically launch.
What Are the Most Typical Installation Errors?
Error Codes 0xC1900101: Driver Conflicts
Error codes starting with 0xC1900101 (such as 0xC1900101 – 0x2000c or 0xC1900101 – 0x30018) typically point toward a driver incompatibility. Most frequently, an outdated graphics driver, network adapter driver, or motherboard chipset causes the upgrade procedure to stall.
To resolve this issue, update your device drivers by visiting the official website of your PC manufacturer or motherboard vendor. Alternatively, you can temporarily uninstall recent or questionable drivers through the Device Manager.
Errors Related to Insufficient Storage Space
Windows 11 demands a minimum of 64 GB of free space on the system partition. If your drive is nearing capacity, the installation sequence will abort. Reclaim storage by clearing out temporary files, emptying the recycle bin, and removing redundant applications. The built-in Disk Cleanup utility can assist you in this endeavor.
Errors Triggered by External Peripherals
Headsets, printers, external scanners, secondary USB drives, or docking stations can disrupt the setup wizard. Disconnect all non-essential hardware components prior to executing an upgrade or clean installation.
Interference from Third-Party Antivirus Software
Non-Microsoft security suites (like Avast, Norton, McAfee, etc.) have a tendency to interfere with operating system upgrades. Remove them completely via Control Panel > Programs and Features. Rely on Windows Defender during the installation phase, and feel free to reinstall your preferred security software afterward.
Outdated or Incompatible Applications
Legacy or poorly coded software can halt the transition process. Uninstall apps that you no longer utilize or those that haven’t been updated in years. If you plan on reinstating them later, ensure you have their activation keys and installation media securely stored.
How to Back Up Your Data Before Installing Windows 11?
A clean installation erases all existing information on the storage volume. Even a standard upgrade can occasionally encounter unexpected failures resulting in data loss. Secure your important documents, digital photos, videos, browser bookmarks, and configuration files by backing them up to an external hard drive, a network-attached storage (NAS) device, or a cloud platform like OneDrive.
If you utilize a Microsoft account, your personalization settings (such as wallpapers, credentials, and visual themes) will be preserved in the cloud. However, this does not safeguard your local documents. Perform a manual file copy or leverage the dedicated Windows Backup utility.
Is a Microsoft Account Mandatory to Install Windows 11?
A Microsoft account is not strictly required to set up Windows 11, though it is strongly encouraged if you wish to synchronize your preferences, use OneDrive, access the Microsoft Store, or utilize Office. During the setup wizard, Windows will prompt you to sign in with a Microsoft account. If you prefer utilizing a local account instead, various workarounds exist (such as disconnecting from the internet during the initial setup phase) to bypass this requirement.
Please note: certain features like retrieving browser favorites or synchronizing saved passwords will only function when tied to a Microsoft account. If you choose a local profile, you will need to configure these elements manually.
What Steps to Take If the Installation Fails Anyway?
Before hunting down a specific error code, apply these universal troubleshooting steps: unplug all extraneous peripherals, ensure Windows 10 is fully updated, uninstall third-party antivirus suites and idle applications, and free up disk space. Should the error persist, note down the exact error code (e.g., 0xC1900101 – 0x20017) and consult the official troubleshooting tables on Microsoft’s support portal.
For persistent driver errors, try booting into Safe Mode and stripping away recently installed drivers. You may also want to reset Windows 10 through Settings > Update & Security > Recovery before taking another crack at the upgrade.
If all else fails, a clean installation utilizing a bootable USB stick remains the most reliable remedy. It bypasses the vast majority of software conflicts and guarantees a pristine system environment.
Do Not Overlook TPM and Secure Boot Verification
TPM 2.0 and Secure Boot represent the two primary hardware mandates that trip up the highest number of users. Verify their status prior to kicking off the installation routine. For TPM, type `tpm.msc` into the Windows search bar: the utility will inform you whether version 2.0 is present and operational. For Secure Boot, enter your BIOS/UEFI utility and navigate to the Security or Boot tab.
If your PC hardware is fully compatible but TPM is currently turned off, enable it directly within the BIOS. Should your machine lack a discrete hardware TPM chip, some modern motherboards offer a firmware-based alternative (fTPM) that must be activated manually. Otherwise, installing Windows 11 legitimately will not be possible.
Do not rush: dedicating five minutes to verify your BIOS settings can save you an hour of frustrating troubleshooting after a stalled installation.