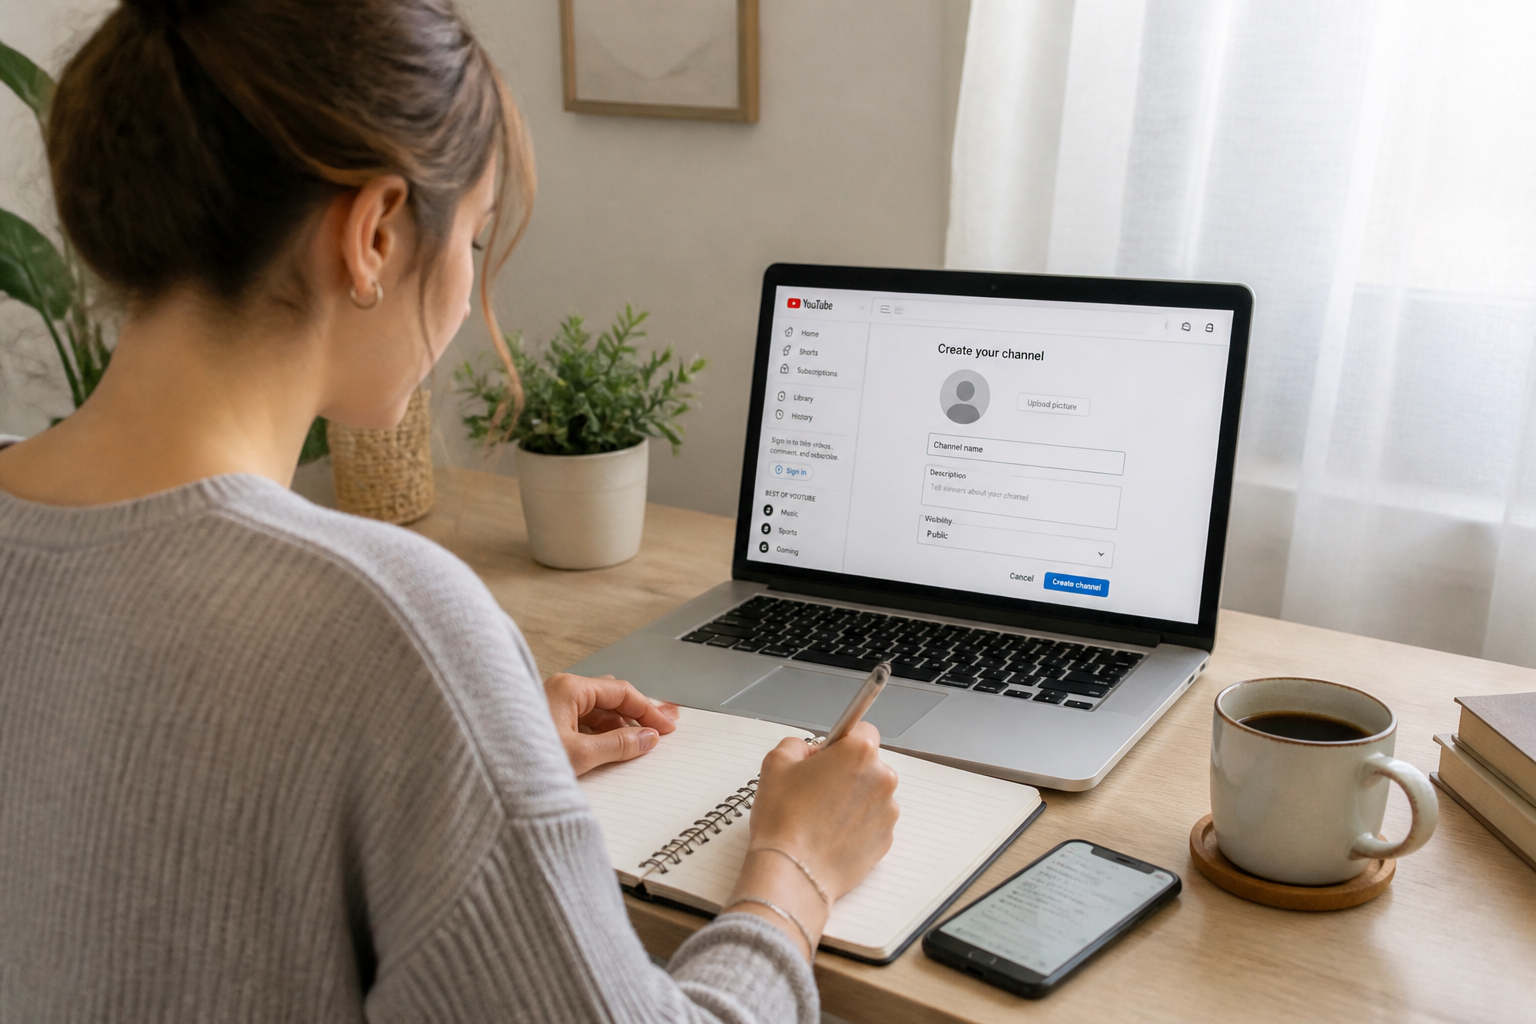
Launching a YouTube channel sounds exciting, yet figuring out the exact starting point often feels overwhelming. Between setting up the account, picking a name, adjusting settings, and crafting that initial upload, it is easy to get stuck. However, laying the groundwork before going live is actually straightforward as long as you tackle things step-by-step. Here is a practical roadmap to help you hit the ground running on the platform without wasting hours or falling into beginner traps.
Set Up a Brand Account Instead of a Personal Profile
Your very first action item is establishing a dedicated Google account tailored for your project, entirely separate from your personal inbox. Opt for a professional placeholder address like info@yourcompany.com or support@yourcompany.com. This setup allows multiple team members to administer the channel cooperatively without sharing a single password. Each collaborator can log in with their unique credentials, vastly improving both workflow efficiency and account security. Head over to YouTube, click your account switcher in the top right corner, and select “Create a channel.” While you can give it a distinct moniker if your content serves a niche focus, keeping your exact brand name usually simplifies things.

Naming Your Channel: Balancing Identity and Niche
Your channel title needs to remain catchy and easy to recall. If your programming spans diverse topics, your company’s official name represents a foolproof choice. Conversely, when targeting a precise content category—such as software walkthroughs or educational guides—incorporating a relevant keyword works wonders. For instance, an educational channel centered on a specific app might go with “Mastering [Brand Name] software.” Ultimately, the ideal moniker bridges your brand identity with your overarching goal while steering clear of overly convoluted or vague phrases.
Steer clear of overly generic or highly technical labels that people will instantly forget. Pitch your ideas to a few colleagues or peers: if they cannot immediately guess what your content is about, you need to simplify it.
Crafting Your Visual Identity Before Your First Upload
Before putting your first clip online, invest a little time into fine-tuning your channel’s aesthetics. Doing so projects instant professionalism and builds trust with new arrivals. Focus on preparing three core components:
- The profile picture: Showcase your corporate logo or a sharp headshot if you are running a personal brand. The ideal dimensions sit at 800 x 800 pixels.
- The banner artwork: Design this at 2560 x 1440 pixels so it scales properly across desktops, tablets, and phones. Keep vital elements like your brand name, tagline, and schedule locked tightly in the center, since mobile devices tend to crop the edges.
- The channel bio: Draft a brief yet informative overview. Explain your background, the value you deliver, and your publishing frequency. Always drop a link pointing back to your main website or storefront.
Maintaining a cohesive visual style across every digital touchpoint—your website, social feeds, and YouTube profile—solidifies your authority. Never skip this phase just because your library is currently empty.
Filling Out Your Core Channel Information
Deep within your channel settings, you will encounter several descriptive fields. Resist the temptation to leave them blank:
- Channel overview: Aim for roughly 500 to 1,000 characters. Clearly outline what visitors will discover, why hitting subscribe benefits them, and what makes your approach unique.
- Social media links: Embed shortcuts to your Instagram, Facebook, TikTok, or any other active social hubs.
- Business contact email: Essential for brand partnerships and direct viewer inquiries.
- Channel tags: Input a handful of descriptive terms outlining your niche (e.g., “photography tips,” “growth hacking,” “plant-based recipes”). This metadata helps YouTube accurately categorize your videos and recommend them to the right viewers.
These minor details might seem trivial, yet YouTube’s recommendation engine heavily relies on them to index and surface your channel. Overlooking them dramatically limits your organic reach.
Content Strategy: Formats That Thrive Early On
High-end cinematic gear is entirely optional when starting out. A smartphone camera, good window light, and an affordable entry-level microphone easily suffice for your introductory videos. Above all, crisp audio and stable framing matter most. If you shoot with a mobile device, mount it on a tripod or prop it securely against a steady object to eliminate camera shake.
For your initial releases, stick to straightforward, high-value formats:
- How-to guides and tutorials: These directly answer pressing questions your target audience is searching for. For instance, if you sell skincare items, demonstrate proper application techniques.
- Client success stories and case studies: Share how a past customer overcame a specific pain point using your solution. This builds organic social proof without feeling overly salesy.
- Behind-the-scenes vlogs: Pull back the curtain on your daily operations. Viewers love experiencing the human, authentic side of a business.
Avoid trying to execute every content style at once. Master a single format first and maintain a consistent output, such as one upload per week. Early on, consistency triumphs over perfection.
Common Pitfalls to Avoid Before Publishing
Novice creators frequently stumble over a few predictable traps:
- Sounding too corporate: Nobody appreciates feeling like a target customer. If your video sounds like an aggressive infomercial, viewers will click away instantly. Speak casually, as if addressing a friend rather than a sales lead.
- Ignoring viewer comments: Your earliest feedback is pure gold. Read through replies, answer questions, and adapt your topics based on positive or negative reactions. Neglecting your comment section cuts you off from a goldmine of free constructive criticism.
- Publishing without a schedule: Dropping a single video once every few quarters will never build an audience. Establish a manageable pace—even if it is just twice a month—and stick to it religiously.
- Forgetting metadata: Captivating titles, thorough descriptions, relevant tags, and custom thumbnails determine whether a video gets watched or ignored. Dedicate ample time to optimizing every upload.
Another major misstep involves trying to appeal to everyone simultaneously. Claiming expertise in every subject makes you look like a master of none. It is far more effective to own a specific niche and establish yourself as the go-to authority within it.
Estimating Budget and Time Requirements for Your First Weeks
Operating on a near-zero budget is entirely feasible if you rely on your smartphone and free editing software. Decent entry-level microphones typically run between 30 and 60 euros, while a basic tripod costs around 20 euros. Your most significant investment will be time: writing scripts, filming, editing, and publishing a five-to-ten-minute video can easily consume 4 to 8 hours of labor initially. As you gain familiarity, that production time drops significantly.
When operating on a tight budget, prioritize audio quality and strong content over pristine visuals. Viewers readily forgive average video quality if the sound is crystal clear and the message is engaging, whereas poor audio ruins even the prettiest footage.
| Equipment | Minimum Budget | Recommended Choice |
|---|---|---|
| Camera | Smartphone | Modern smartphone |
| Microphone | €30 | Wireless lavalier mic (€50-€80) |
| Tripod | €15 | Mobile tripod stand (€20-€30) |
| Lighting | Natural daylight | Ring light (€30-€50) |
| Video Editor | Free software (DaVinci Resolve, iMovie) | Premiere Pro or Final Cut (subscription) |
Testing the Waters with Your First Piece of Content
Before committing to a long-term publishing schedule, run a pilot test with a single video. This allows you to evaluate your gear, test your production workflow, and gauge audience reception. Publish that test piece, analyze the analytics (view counts, retention rates, comment trends), and refine your strategy accordingly. This saves you from grinding out ten videos in a format that ultimately falls flat.
Once your concept proves viable, outline your subsequent three to five videos. A simple editorial calendar mapped out on a spreadsheet or kanban board keeps you organized without burning you out.
Do not let the fear of making mistakes paralyze your progress. Your debut video will not be flawless, and that is completely fine. The secret is simply starting, learning from each publication, and making continuous tweaks. YouTube rewards consistency and genuine character, not initial perfection. So go ahead, pick a title, customize your hub, draft your first video, and push publish. Everything else will fall into place through hands-on experience.